Introduction
This guide will walk you through installing & using the Clareti Integration(CI) Mule Extension in the Mule Anypoint Studio.
The CI Mule Extension enables you to use core CI functionality and your generated models and transforms in your Mule flows.
The current Extension provides operations to validate, convert, and transform messages. In Mule 4, each operation runs in it’s own isolated classloader(https://docs.mulesoft.com/mule-sdk/1.1/isolation) and therefore required us to always parse the payload and write the message back as text on to the payload. Thus, if you use the validate operation, then it will first parse the message before doing the validation. You can combine any of Mule’s endpoints and processing components to ingest, route, parse, validate, transform and write messages to create scalable, fault tolerant and highly available message processing systems.
Although it assumes no prior knowledge of Maven, under the hood Maven is used to manage the dependencies, build & run your Mule application. You may wish to refer to the documentation at http://maven.apache.org/ for more details.
Using the CI Mule Extension
Creating a Mule Maven Project
The CI Mule Extension requires that you use a Mule Maven project.
Inside the AnyPoint Studio, create a New -> Mule Project:

In the new project wizard, select Use Maven and populate the Group Id, Artifact Id and Version appropriately:
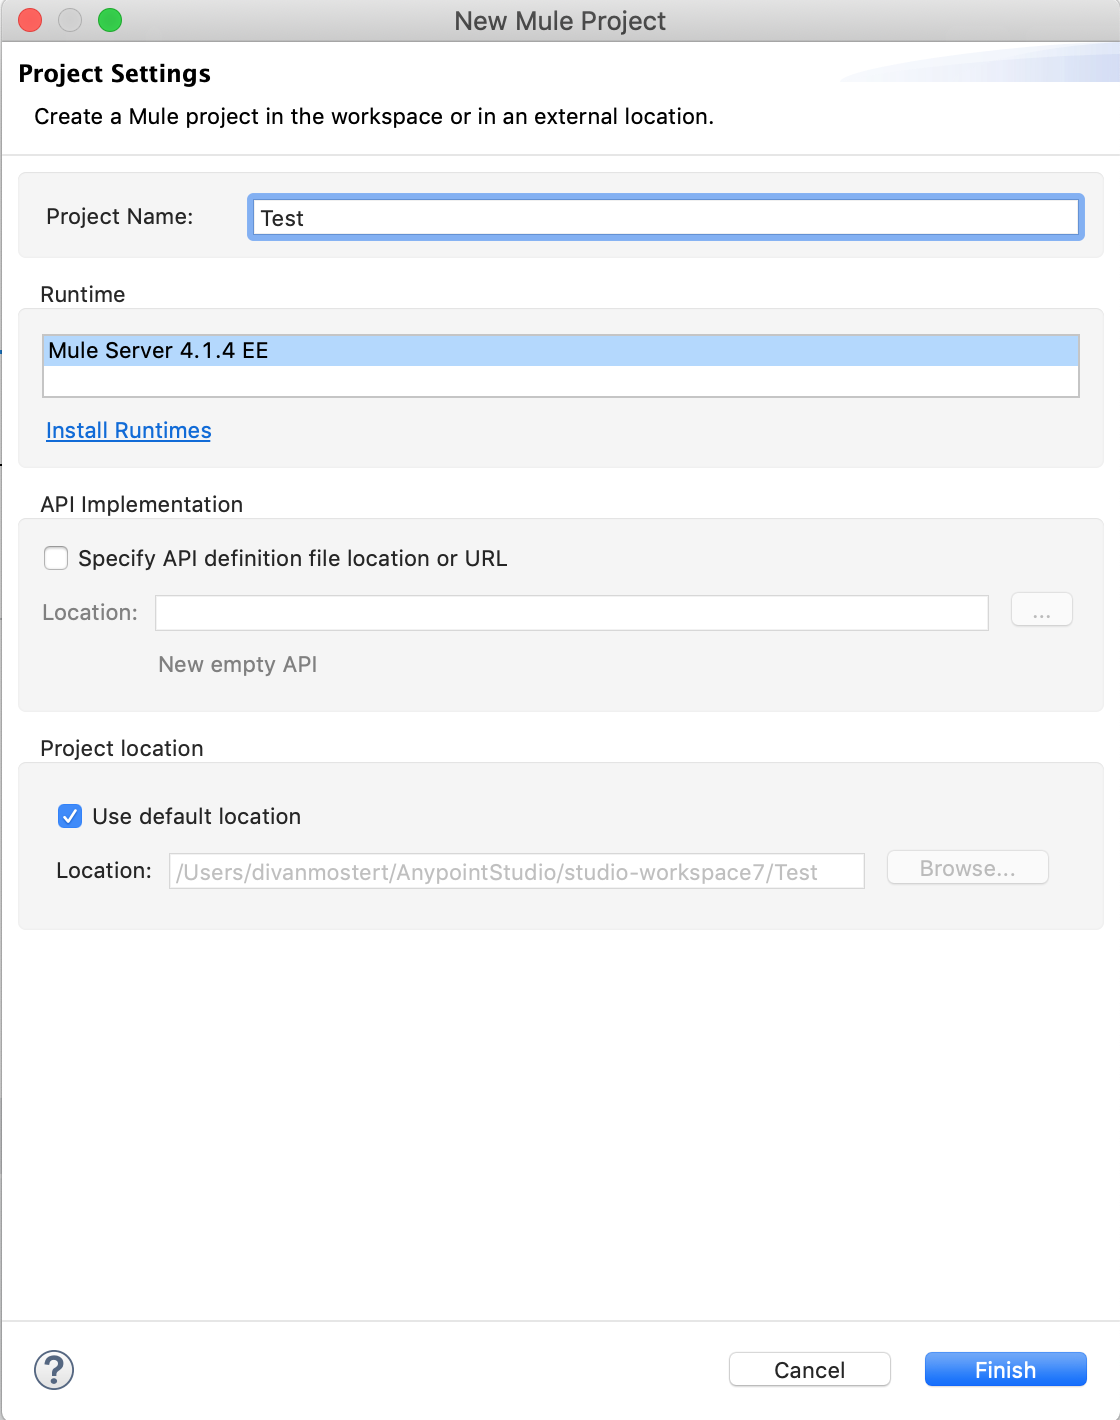
Configure the project as required and finish the wizard.
Adding CI to the Project
The CI Mule Extension does not bundle a version of iO to allow you to select and upgrade versions as desired. Consequently we need to update the project’s pom.xml to configure iO.
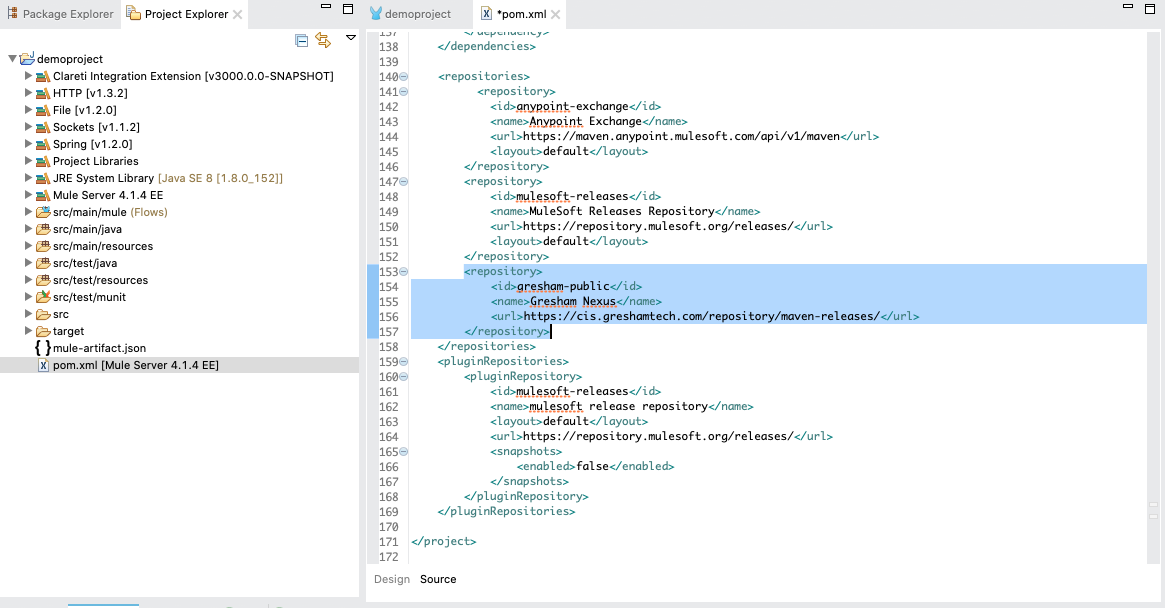
First we need to tell Maven where it can find the CI jars. Unless you host them in your own Maven repository, you’ll probably want to use the Gresham Nexus. Open up the project’s pom.xml and add the following to the repositories section:
    <repository>
        <id>gresham-public</id>
        <name>Gresham Nexus</name>
        <url>https://cis.greshamtech.com/repository/maven-releases/</url>
    </repository>
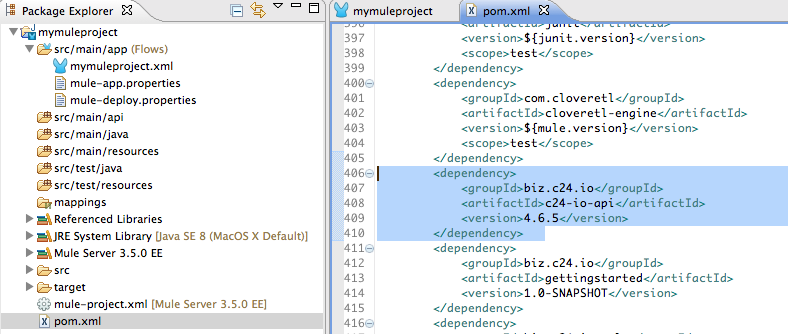
Next we need to add the CI Runtime jars to the project’s dependencies. Add the following to the dependencies section, updating the version as appropriate:
    <dependency>
        <groupId>biz.c24.io</groupId>
        <artifactId>c24-io-api</artifactId>
        <version>4.12.2</version>
    </dependency>
Next we also need to add the C24 Mule extension itself using:
     <dependency>
        <groupId>com.gresham.ci.mule</groupId>
        <artifactId>ci-mule-connector</artifactId>
        <version>2.0.0</version>
        <classifier>mule-plugin</classifier>
    </dependency>
You’ve now wired in CI!
Adding your custom models and transforms
Next we need to add the generated CI jars for any transforms or models you wish to use in your flow.
You may already be hosting these files in your own Maven repository. If not, good practice is to create a Maven repository as part of your project - that way when others check it out they will also get your jars. There are many guides to this on the web (such as https://devcenter.heroku.com/articles/local-maven-dependencies) however please contact Gresham if you need further assistance.
Once you’ve put your jars into a repository (and added any necessary configuration to the repositories section in the pom.xml) we need to declare them as project dependencies. Add a dependency in the pom.xml’s dependencies section for them exactly as we did for the CI Runtime jars. For example (your dependencies will differ):
<dependency>
    <groupId>com.gresham</groupId>
    <artifactId>getting-started</artifactId>
    <version>4.0.0</version>
</dependency>
Remember that if your transform and models are in separate jars, you’ll need to add a dependency for each of them.
Sharing the C24 API version and generated code
As mentioned earlier, Mule 4 creates an Isolated Classloader for each operation, so we need to share our generated classes and declared API usage with them. Here is an example of how to do that:
<plugin>
    <groupId>org.mule.tools.maven</groupId>
    <artifactId>mule-maven-plugin</artifactId>
    <version>${mule.maven.plugin.version}</version>
    <extensions>true</extensions>
    <configuration>
        <sharedLibraries>
            <sharedLibrary>
                 <groupId>com.gresham</groupId>
                 <artifactId>getting-started</artifactId>
             </sharedLibrary>
             <sharedLibrary>
                 <groupId>biz.c24.io</groupId>
                 <artifactId>c24-io-api</artifactId>
             </sharedLibrary>
        </sharedLibraries>
    </configuration>
</plugin>
Creating a Global Configuration
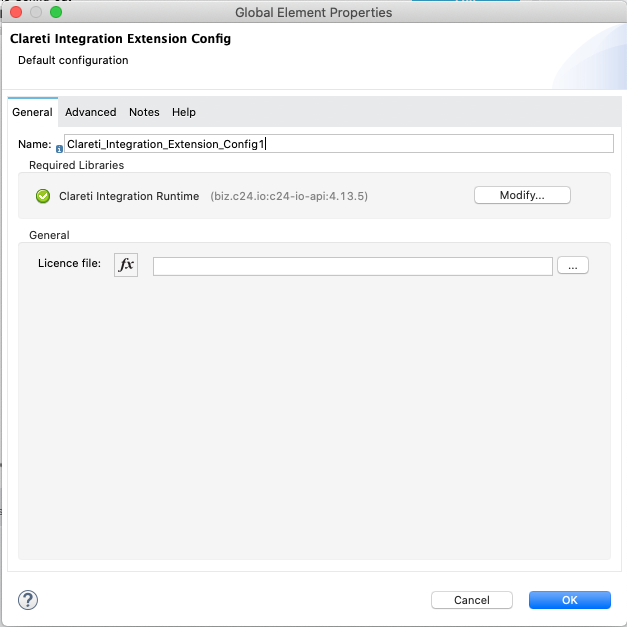
The CI Extension uses a global configuration to make available transforms and licensing.
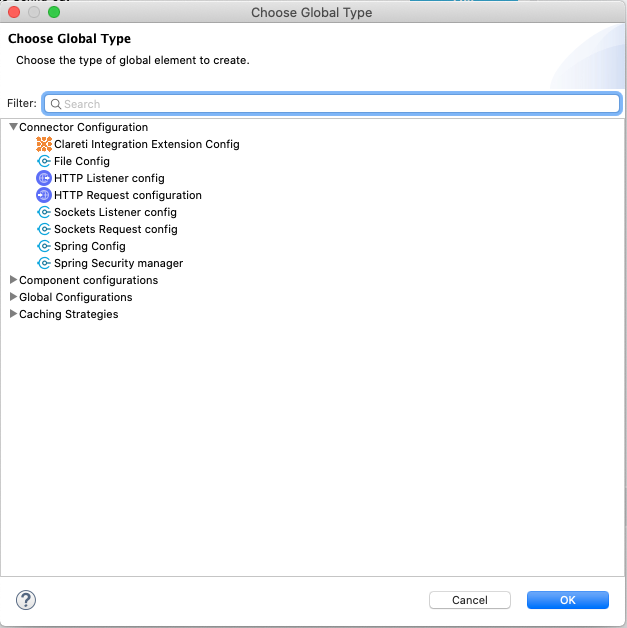
Open your application’s flow, select the Global Elements tab at the bottom and click the Create button. In the pop-up window, open Extension Configuration and select CI Extension Config then click OK.
If you are using licensed models (such as SWIFT) then at runtime iO will need a valid licence file. Please see here for details on how the parameter entered here will be interpreted.
Adding the Extension to a flow
You’re now ready to start adding instances of the CI Extension to your flows.
Once the Extension was added in the pom.xml you will see it appear in the Mule Palette.
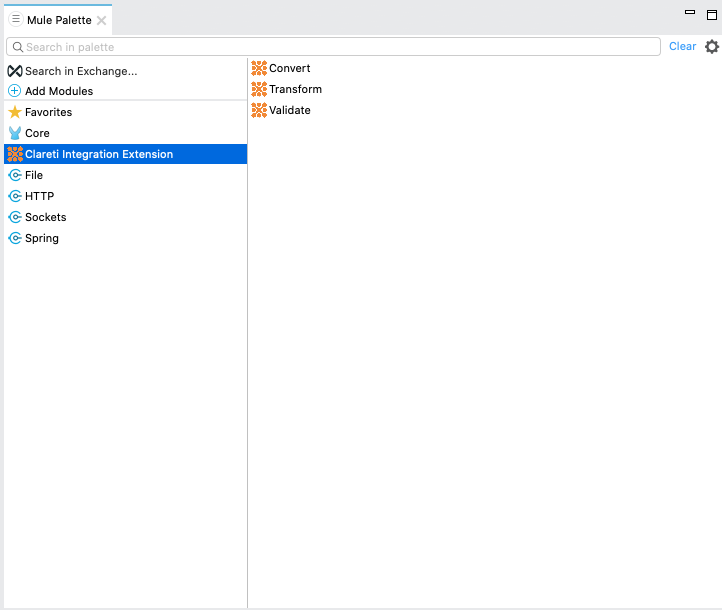
Drag and drop the Extension to the appropriate point in the flow then double-click it to bring up its properties:
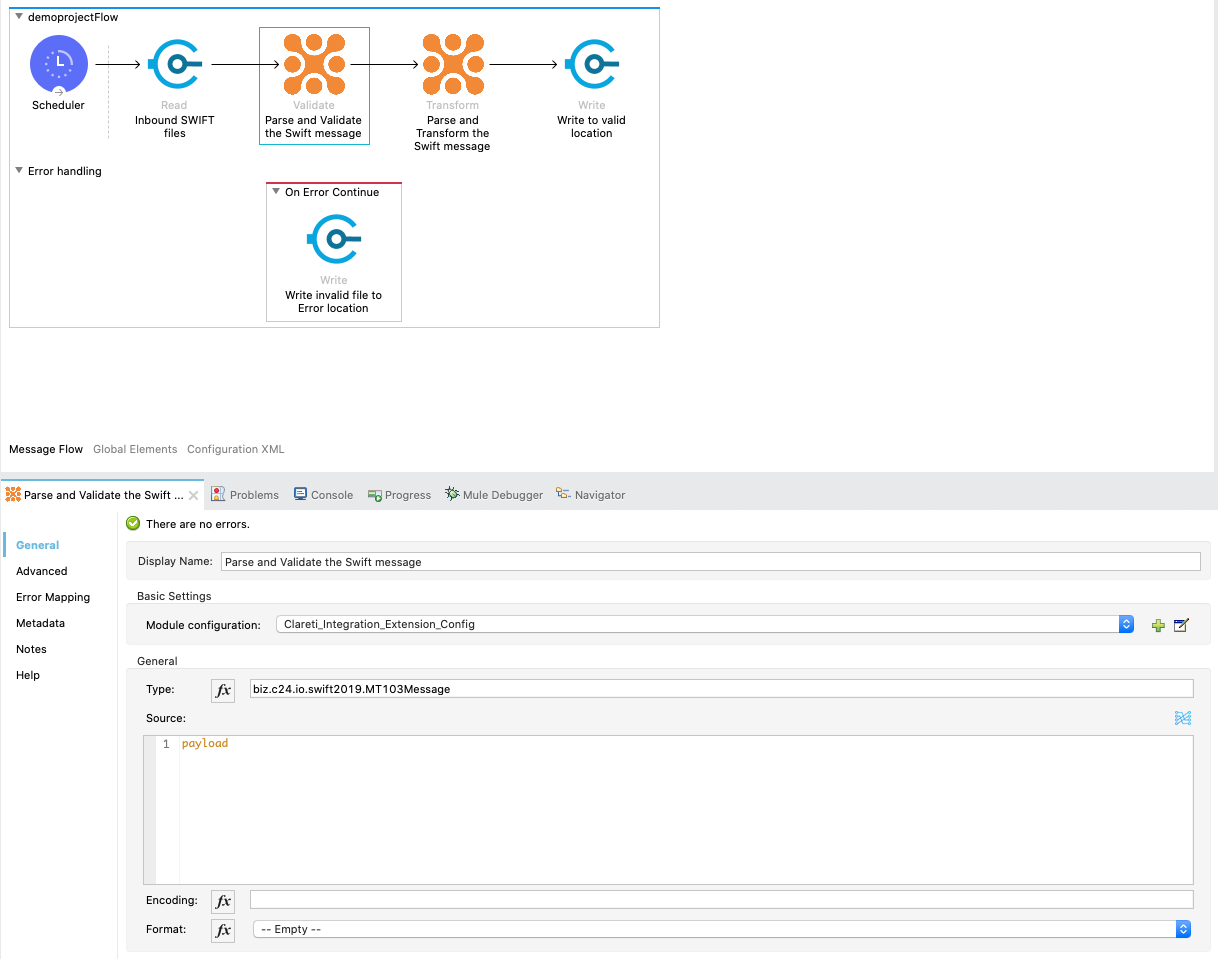
Under Basic Settings -> Module Configuration select the global configuration that you just created.
Operation: Validate
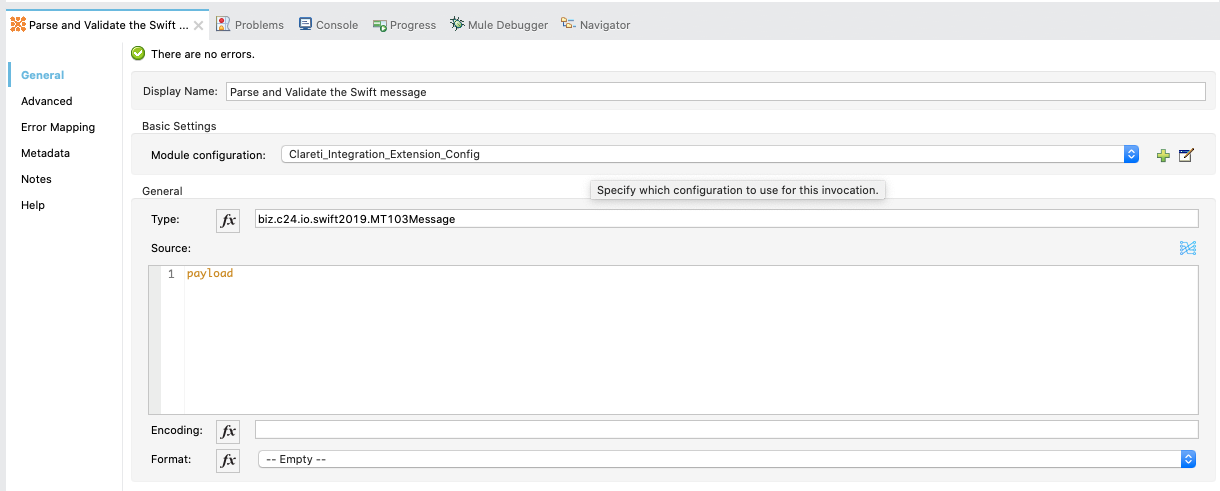
The Validate operation takes a message in its source format and parses it to create a Java-bound version of the message. A C24Exception will be thrown if the message cannot be parsed.
Once parsed the message will be validated. The Validate operation applies your configured CI validation rules to determine if the parsed message passed to it is valid. If it is, the message will be passed on as the output from the operation; if not a CIException will be thrown.
| Parameter | Details | Required |
|---|---|---|
| Type | The fully-qualified classname of the type of object to parse | Yes |
| Source | Where to read the message from | No. Defaults to inbound payload |
| Encoding | The character encoding used by the source message | No. Defaults to model’s default character set |
| Format | The textual format of the inbound message | No. Defaults to model’s default input format. |
The validate operation works with CI CDO-based classes and returns string representation of the input object, assuming it was parsed successfully.
Operation: Transform
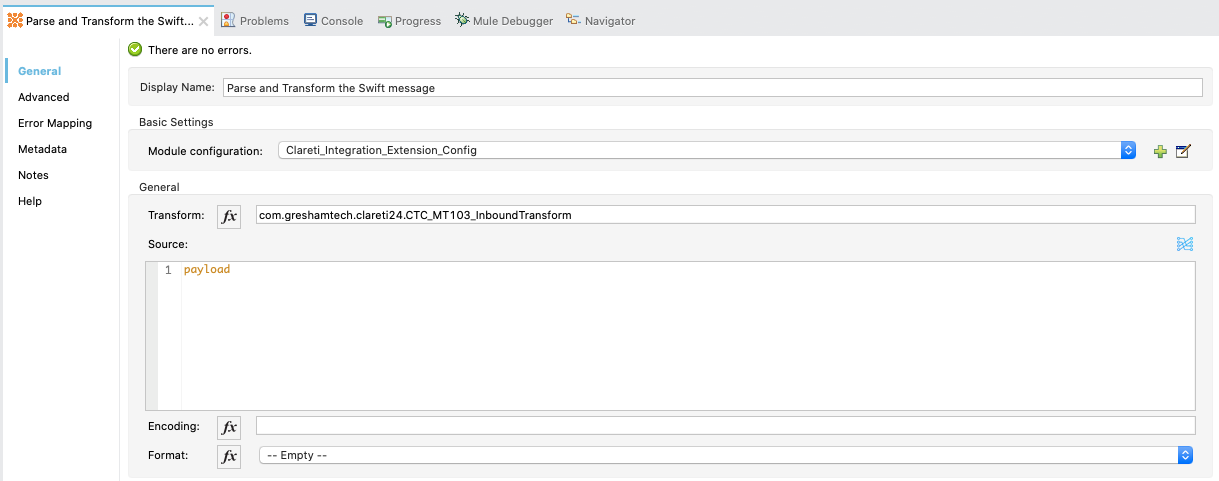
The Transform operation invokes a CI 1:1 transform, using the object output from it as its output payload. The operation first parses the input payload before executing the transform.
| Parameter | Details | Required |
|---|---|---|
| Type | The fully-qualified classname of the transform to use | Yes |
| Source | Where to read the message from | No. Defaults to inbound payload. |
| Encoding | The character encoding used by the source message | No. Defaults to model’s default character set |
| Format | The textual format of the inbound message | No. Defaults to model’s default input format. |
Errors during transformation will result in a CIException being thrown however neither the input nor the output are validated - you can chain additional instances of the CI Extension with the validate operation in your flows to achieve this.
Operation: Convert
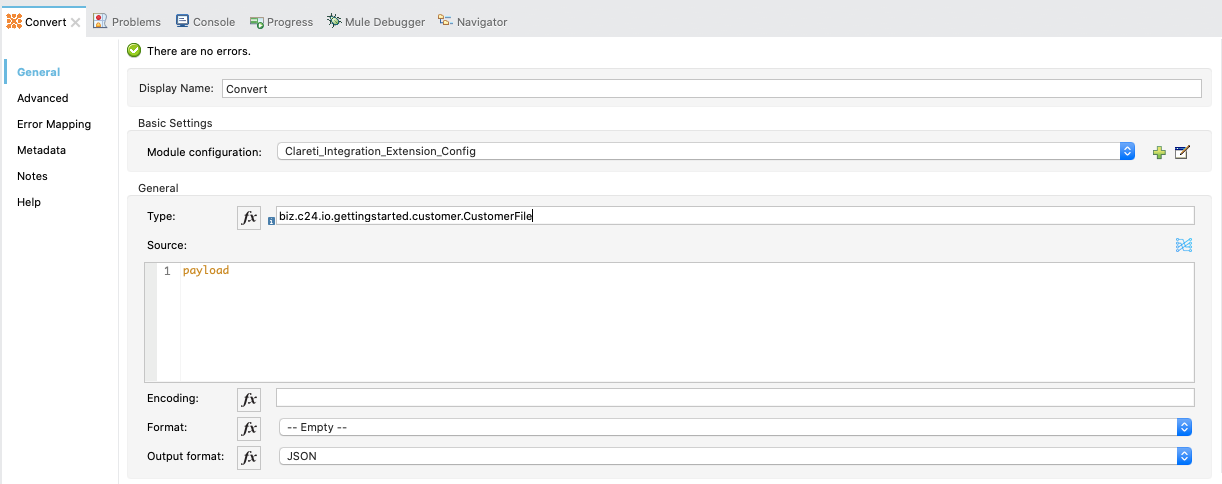
The convert operation gives you the ability to parse a message of a specific format and the marshal it back to text as a different format. This is NOT a transform, it’s the same data that was parsed, but just represented in a different format.
| Parameter | Details | Required |
|---|---|---|
| Transform | The fully-qualified classname of the transform to use | Yes |
| Source | Where to read the message from | No. Defaults to inbound payload |
| Encoding | The character encoding used by the source message | No. Defaults to model’s default character set |
| Format | The input format in case it is different to the default setting in the data model | No. Defaults to whatever was set in the data model |
| Output Format | The format it needs to be converted to. | Yes |
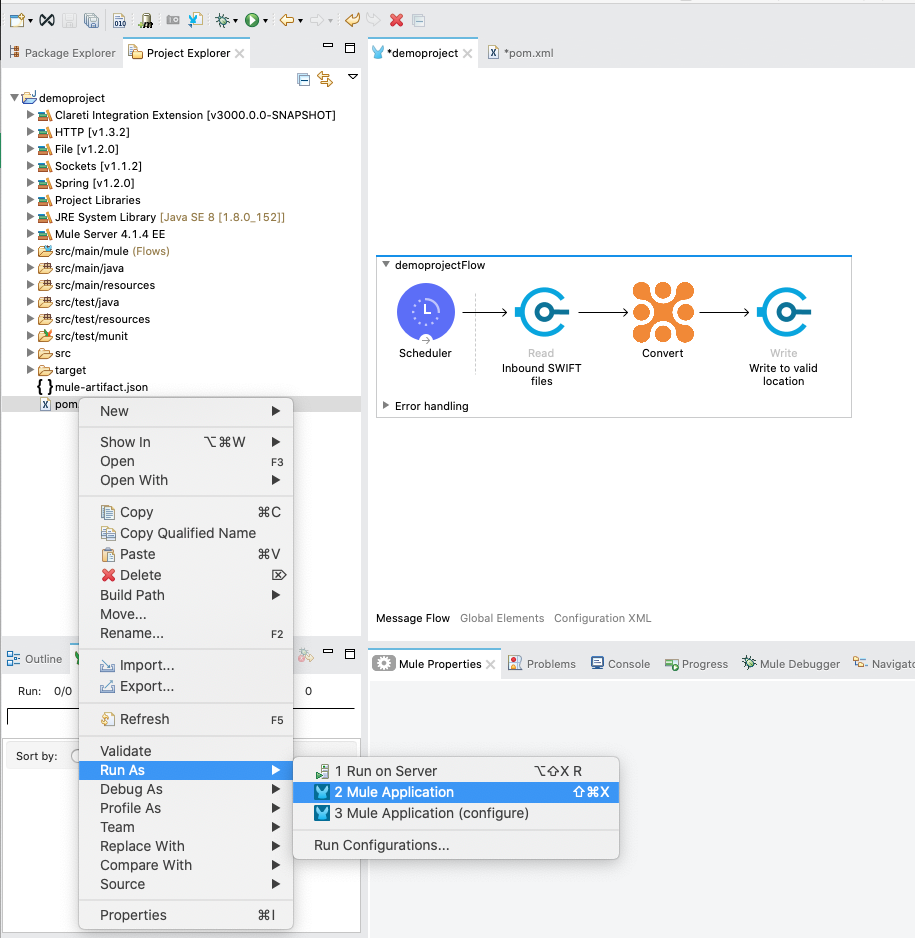
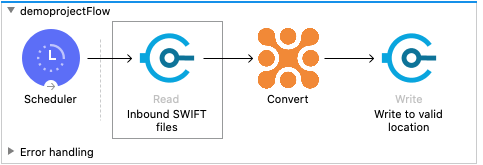
You can then connect other processing components and endpoints to the output of the Extension. The sample below reads messages from a file, parses the contents and writes the result back to a file in the specified format.
Error Handling
Any CI exceptions during the Extension’s processing (such as parsing, transformation or validation errors) will result in a CIException being thrown.
Running the Application
Once you have completed implementing your flow, you can run it from within Anypoint Studio.
Right click on your flow or the pom.xml in the Project Explorer and select Run As -> Mule Application
